
We love bread. Fresh baguette with butter and jam for breakfast; pure rye bread with a poached egg for lunch; pita bread to splash hummus for aperitivo; more bread.
We wrote about the day Flubber, the mother of all salmon pink sourdough starters, arrived in our lives here. Mini versions of Flubber have now reached kitchen shelves across London and the North Sea, and we have loved to see photos of breads from everyone, from the kneading to the resting, all the way to breaking bread, together in spirit.
Let’s talk bread routine!
Sourdough starters can be demanding—they are hungry! Now that ours are stable and healthy, we keep them in the fridge, only feeding them the day before baking, from once a week up to once every two weeks. You’ll know your starter is healthy when it grows and falls flat at a similar pace after feeding. Smell it—does it smell yeasty with a hitch of sweetness? When you get a starter, we advise you keep it on the counter and feed it every day for a solid week. It’ll lead you to owning a robust starter, and most importantly, you’ll get to know your starter. Yep, you got yourself a pet, provider of cuddles made of bread crumbs. What else can one ask for?
So, on to our bread routine. The day before baking, we take our starter outside of the fridge, discard 50 to 100 g and feed it. The amount of flour and water needed depends on the state of the starter: consider size, hydration and smell. We tend to go for a generous meal on the day before baking, around 100 to 150 g of flour for 75 to 125 ml of water.
Settle your starter somewhere warm in your kitchen for the night. We then leave our starters on the counter the following day, and start the baking process in the evening. Once we’re ready to bake and have taken the amount of starter required for our recipe, we feed our starter 50g of flour and 35-50 ml, depending on current hydration, before putting it back in the fridge. Remember that you don’t want your starter to become too wet: the fridge habitat will be humid.
Since we last wrote about Flubber, the salmon pink kitchen has seen a new mother starter rise, from wholemeal flour this time: Lola. Today we’re sharing our bread recipe for 1 wholemeal sourdough loaf. You’ll need:
500 g wholemeal flour
2 teaspoons salt
25 g wholemeal sourdough starter
380 ml cup warm water (around 35C)
Extra flour for dusting
Method:
- In a small mixing bowl, mix together flour and salt, and set aside. In a separate, larger bowl, dissolve together the sourdough starter and 280 ml of the water. You can use your hands to break up the sourdough starter, or a wooden spoon.
- Slowly stir the flour and salt mixture into the larger bowl. Use your hands to bring it together and mix thoroughly until there are no crumbs left at the bottom of the bowl.
- Add the remaining 100 ml of water and continue to mix. You’re looking at a 75% hydration dough so add your water slowly, depending on starter and flour, you may need less or more water for your dough to come together into a slightly sticky ball. We need approximately 80 ml.
- Cover the dough with the smaller bowl and leave to rest for 10 minutes.
- Knead for 10 minutes. Turn the ball of dough over in the bowl and cover again with the smaller bowl for 10 minutes.
- Repeat step 5 another 3 times. Tip: you can finger mark the dough after each round so you remember how many sets of kneading you’ve done. It’s easy to lose track! Make sure to cover the dough between each round.
- BEDTIME story for bakers! Cover the dough with a kitchen towel and leave it to rise overnight on your counter.
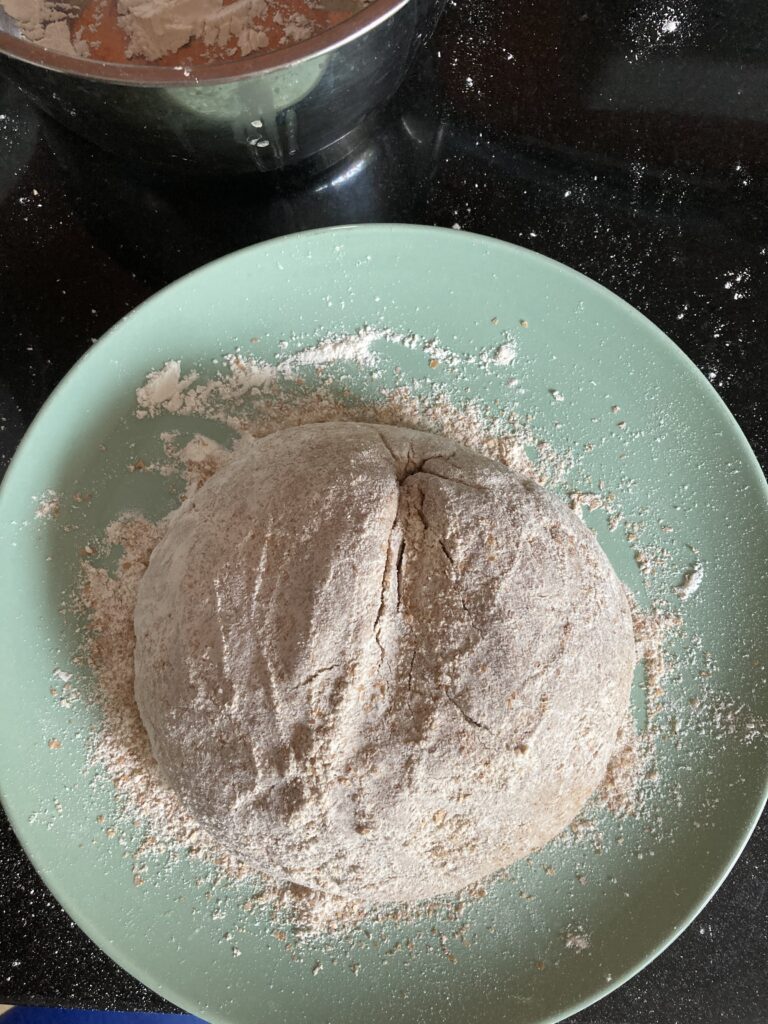
- Good morning: time to gently punch down the dough with your palm to de-gas it.
- Flour your hands, and slowly remove the dough from the bowl. Shape it into a ball.
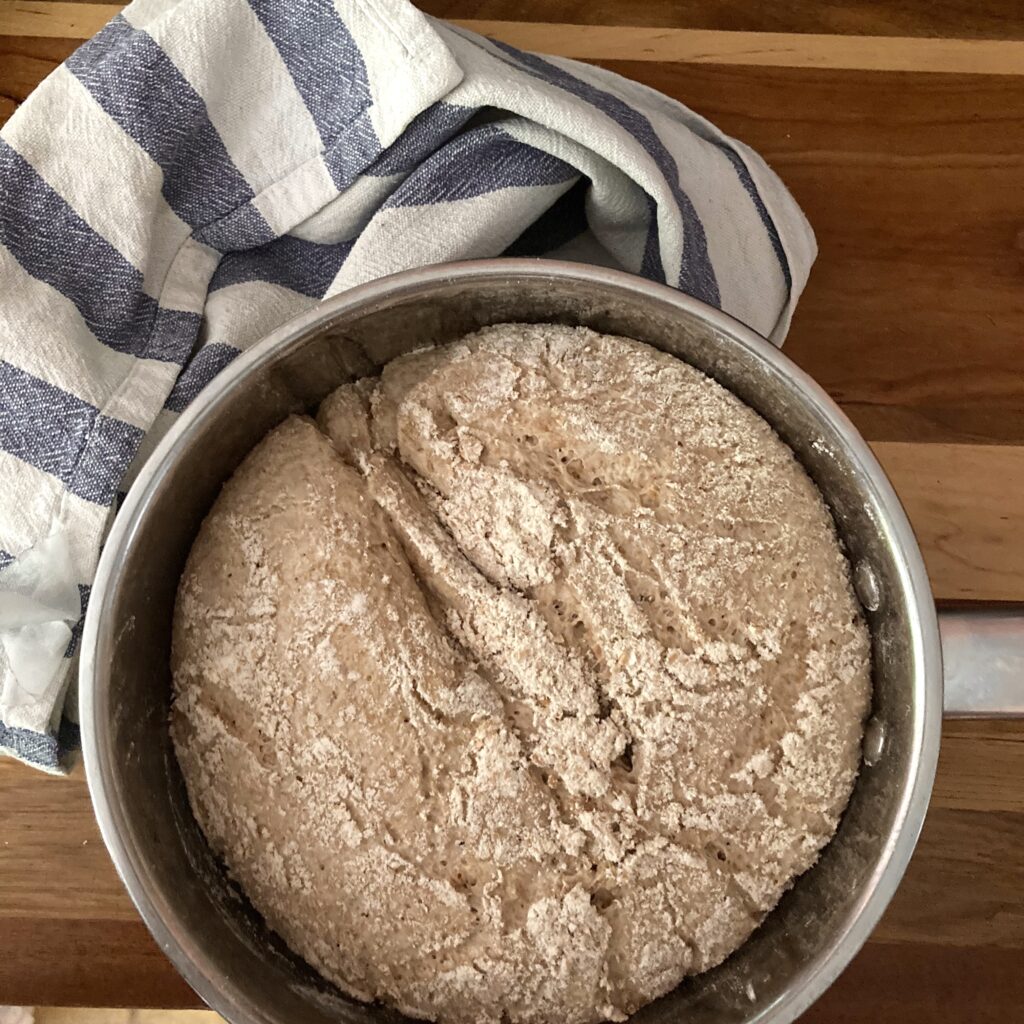
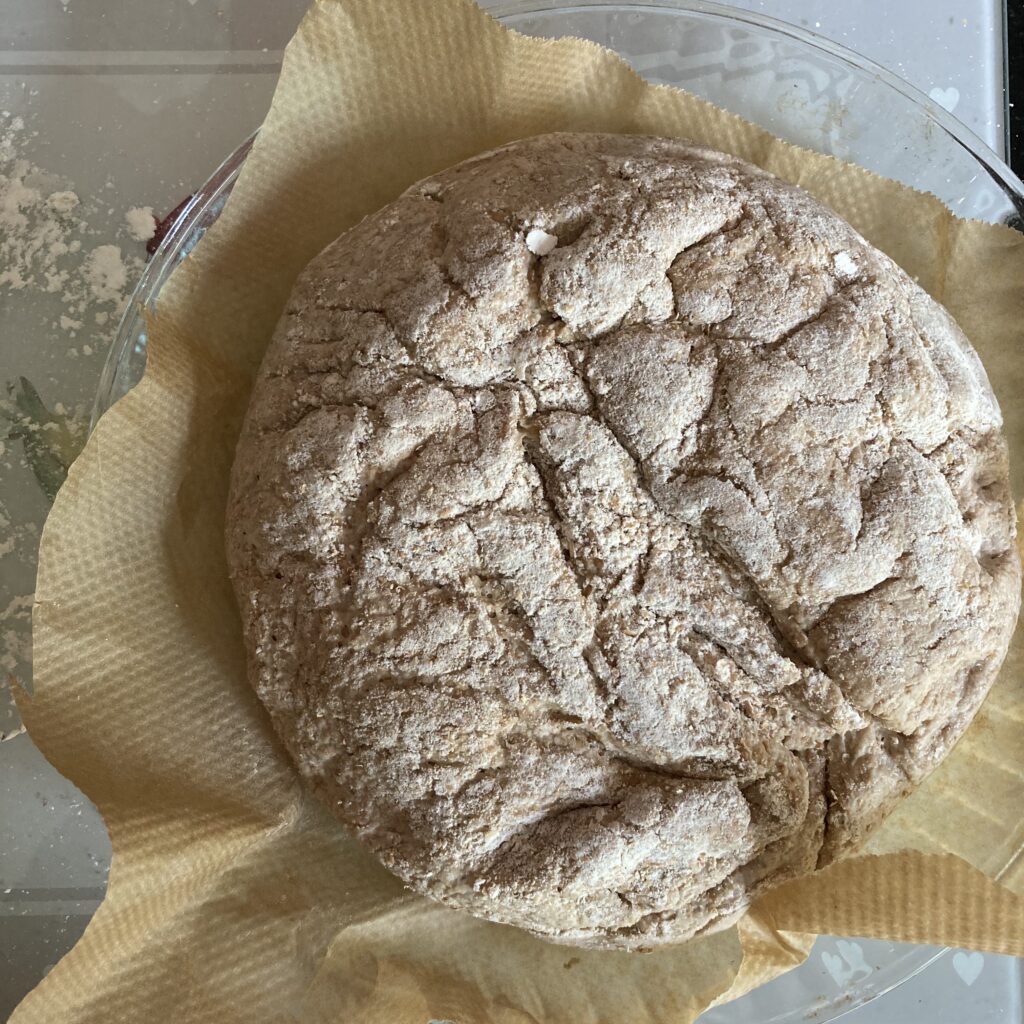
- If you have a proofing basket, it’s time to get it out. If you don’t, find a small enough bowl so your dough will rise and not flatten. We use a pot and it’s worked well. See photo below.
Flour the basket or any recipient you’re using thoroughly. Coat the top of the dough with flour and place it seam-up in the basket/pot/other. Cover with a kitchen towel and leave the dough to proof for 4-6 hours, until the dough has nearly doubled in volume. In the salmon pink kitchen, that’s around 4 hours and a half in spring and summer times. - Pre-heat the oven to 250C. Place a roasting tray at the bottom and a baking sheet on the middle tray. Meanwhile, place the dough in the fridge for 30 minutes. This step should help stabilise it.
- Return the dough onto a floured counter. With a slightly wet knife, mark the loaf with the design of your choice.
- Slide the loaf onto the preheated baking sheet in the oven and pour a cup of water into the hot roasting tray. Lower the temperature to 220C and bake for 30-40 minutes, until the bread is golden brown.

Ready?
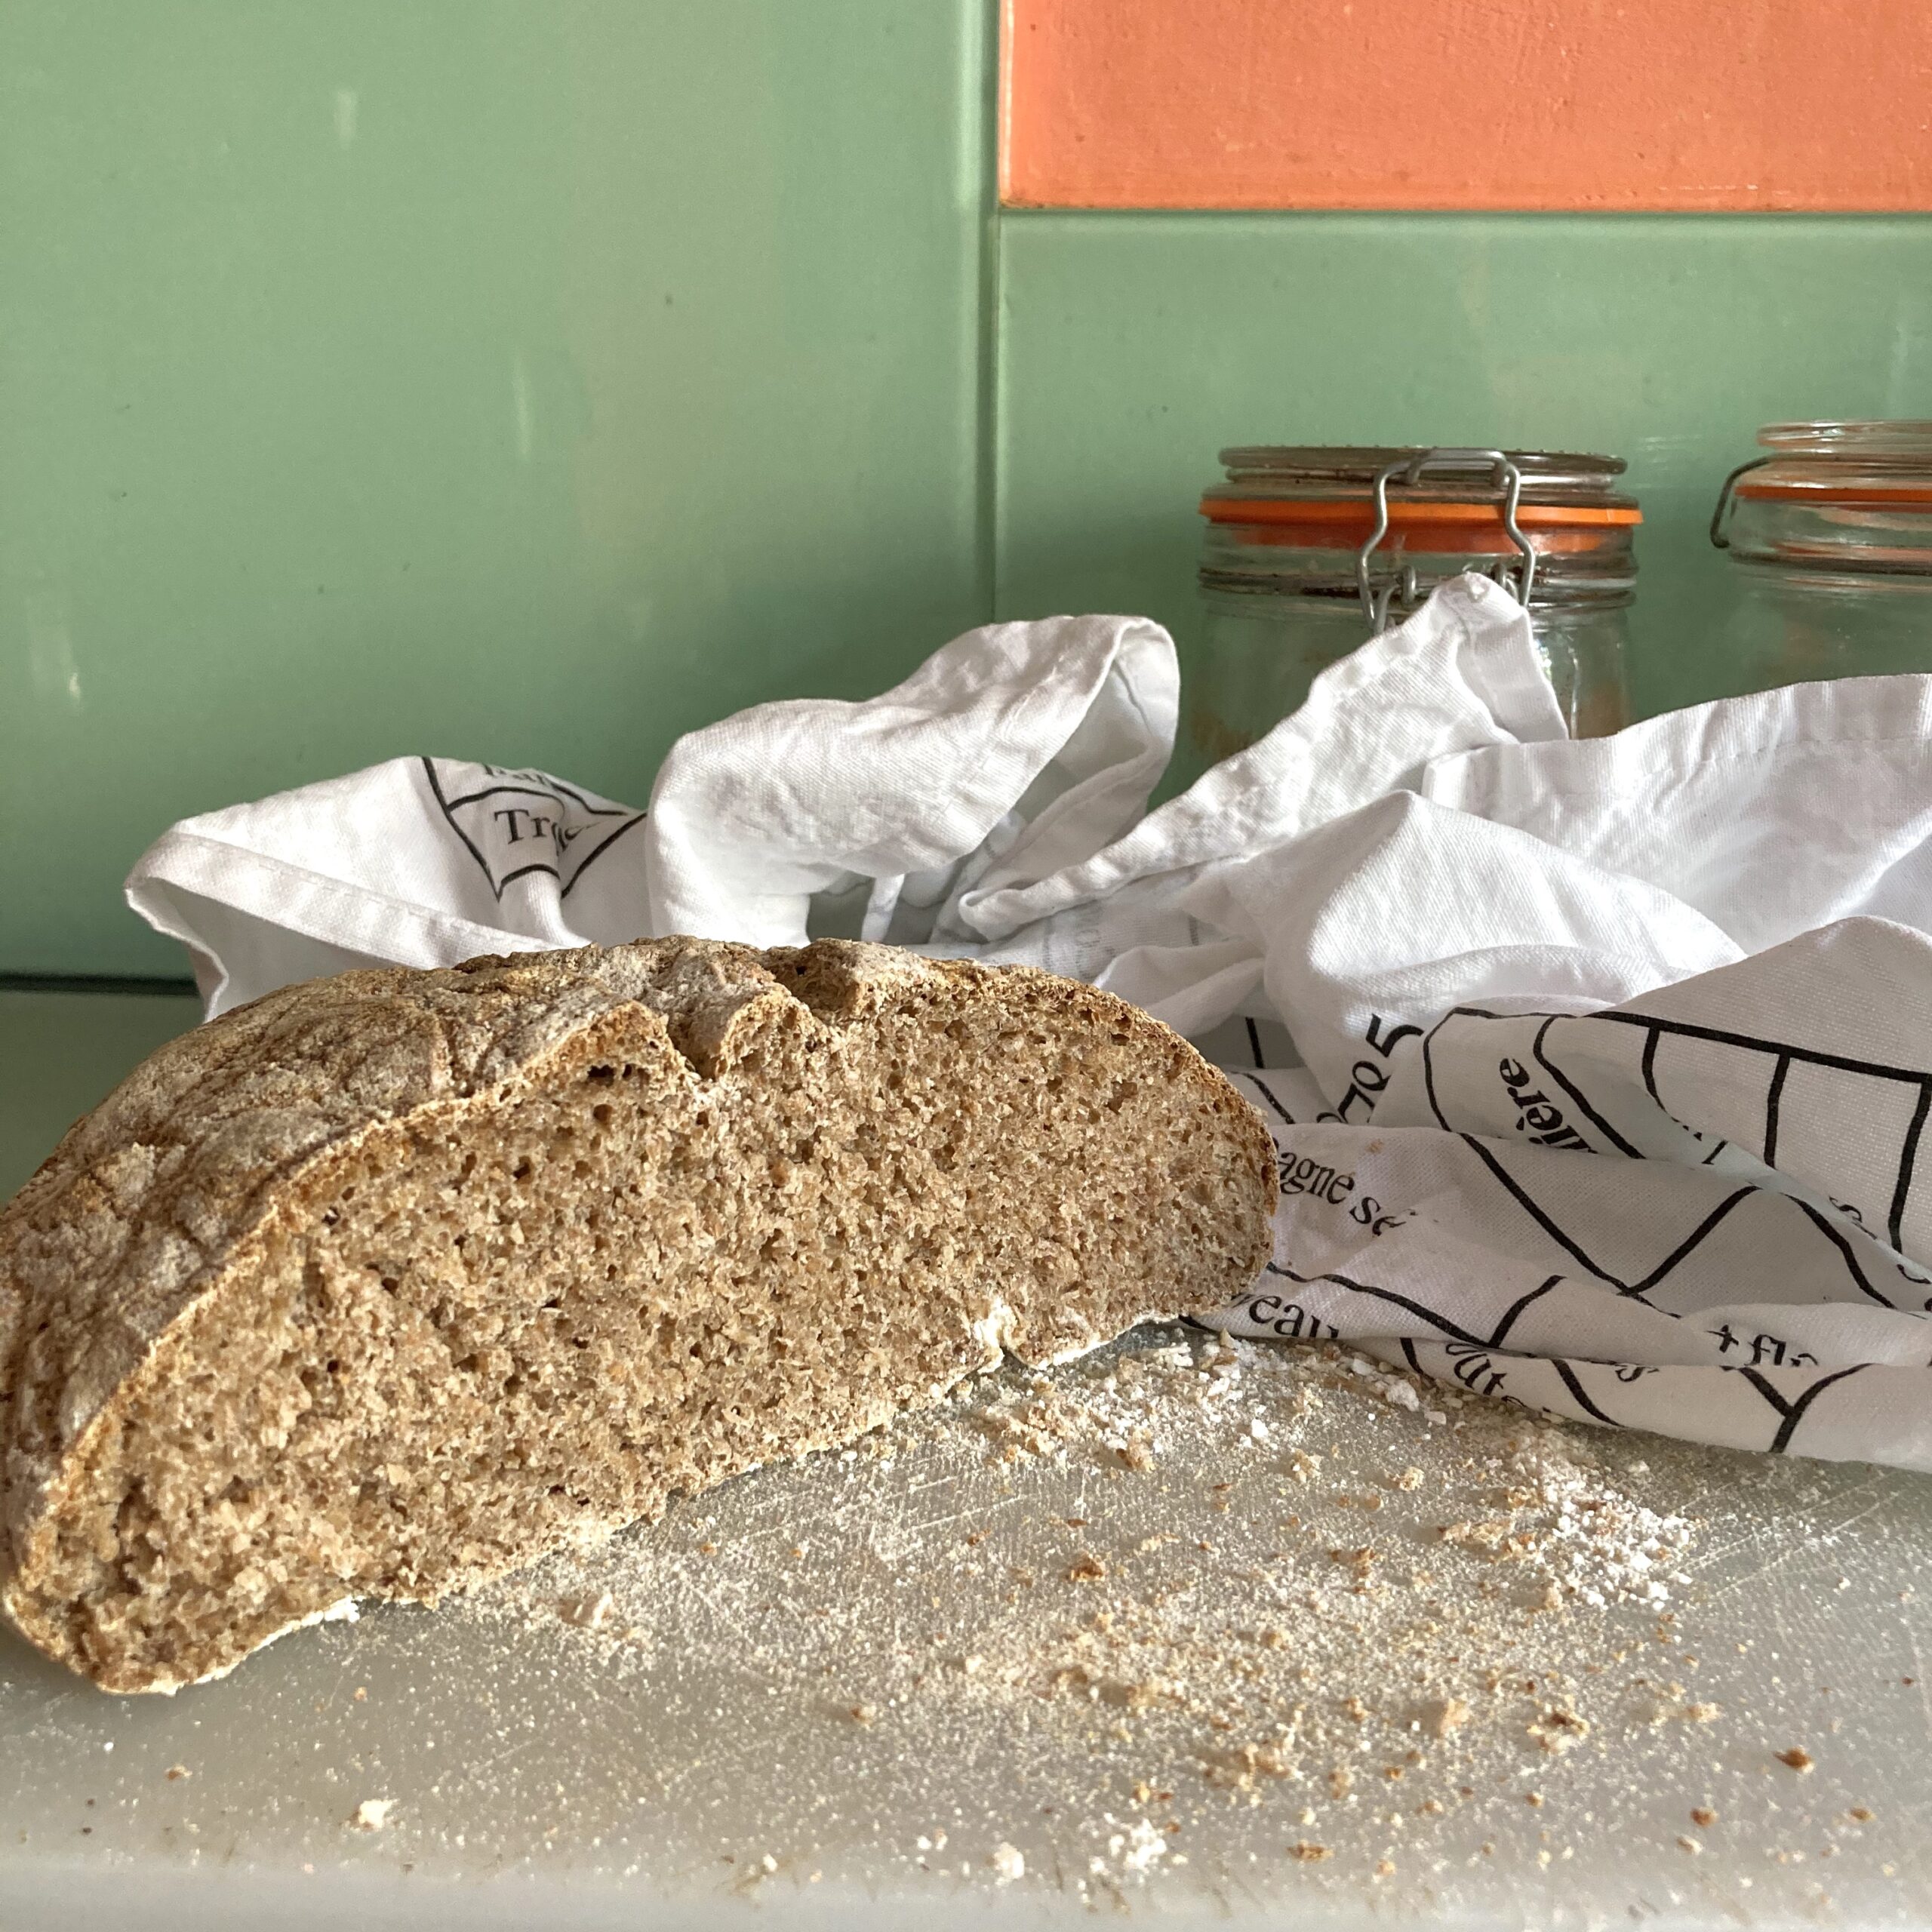
Tap the bottom of the loaf with a bread knife. If it sounds empty inside, it’s ready. If not, bake for another 10 minutes. Remove the loaf from the baking sheet and leave it to cool on a wire rack.
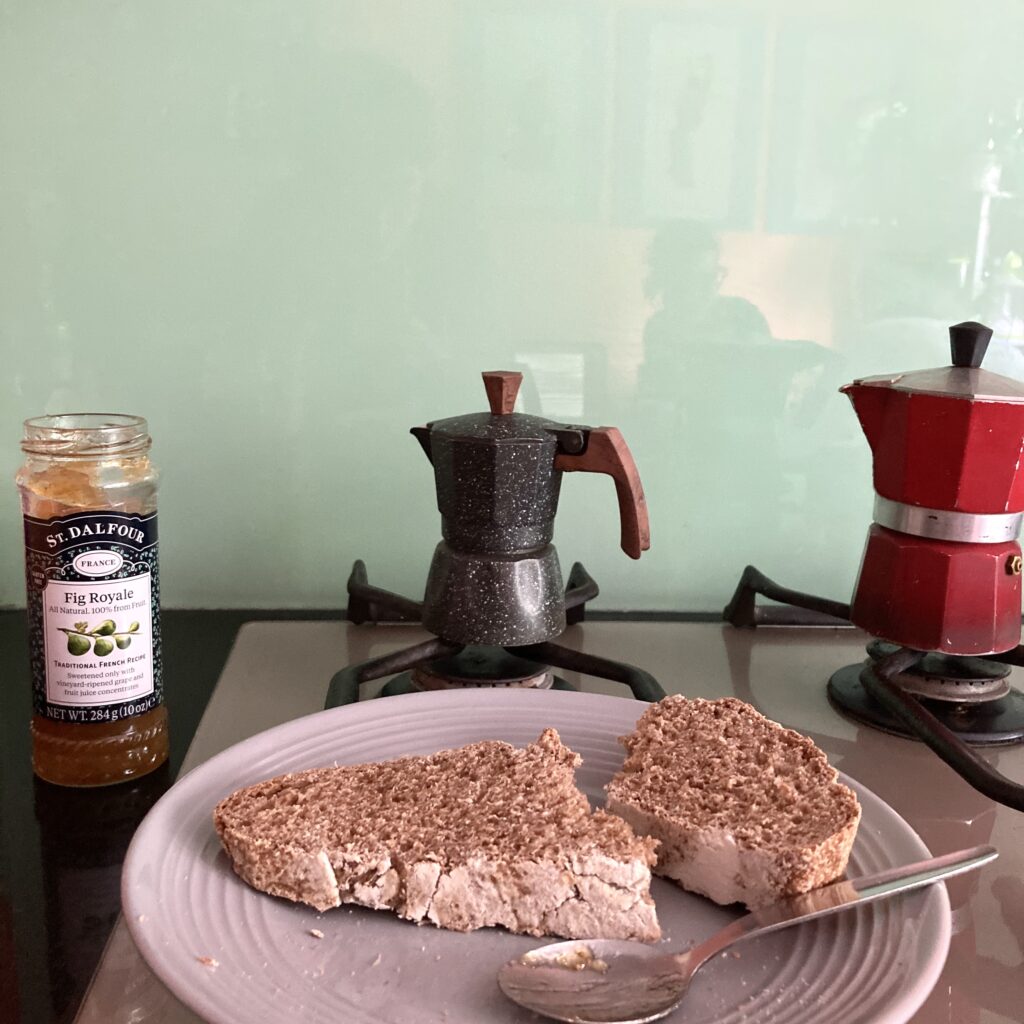
We especially enjoy this bread with Fig or Reines-Claudes jam. Bon appétit !
Next up: pure rye from Flubber and for those who have a rye starter, coming soon.
To our bakers, with love,
Irene & Margaux